Learning to make a good chicken bone broth is an essential tool in any cook’s toolbox. This is especially true if you are trying to reduce or eliminate the chemical laden processed foods in your diet. Canned broth is generally very high in sodium and often contains mystery ingredients like natural colouring.
Even my go-to-in-a-pinch President’s Choice organic brand contains both sugar (yes, cane sugar is still sugar) and ‘natural chicken flavour’. Where do you suppose that comes from?
Luckily, making your own broth is really easy – and it is inexpensive as long as you are saving the unused bones from other recipes rather than buying them specifically for broth. I do both, meaning occasionally my broth is a bit on the pricier side. I’m OK with that.
So what is the difference between bone broth and regular ‘ol chicken broth? Time.
While regular chicken broth is left to simmer for a few hours, maybe 2 or so, bone broth is left to simmer much longer, up to 24 hours. I usually go for an 8 hour or more timeline as I’m not super comfortable leaving a simmering pot on the stove (though you can use a crockpot on low). I also find the smell of food cooking while I sleep to be kinda weird and disconcerting.
The idea with bone broth is to extract as much flavour and nutrient as possible from the bones, using time and often a small amount of acid like vinegar, wine or lemon juice. Quality bones are full of minerals and healthy amino acids which are great for your skin, joints and digestion.

Taking the extra time to simmer your broth allows all of the nutrients to be extracted from the bones – which is why finding good quality bones from organic or pastured animals is a good idea. I often purchase whole organic chickens and then part them out myself, reserving the backbone for soup by freezing them until I get enough to make broth. Adding a tablespoon or two of apple cider vinegar will also aid in drawing the minerals out of the bones.

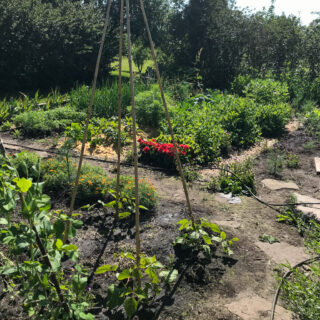
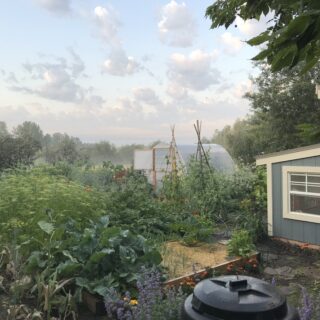
When I am out of broth I can simply add my veggies and water and voila! Broth is set to simmer. You can use fresh veggies, or you can use the ones in the back of the crisper drawer that don’t look so great, though you don’t want those slimy ones that you forgot about, just the ones that look a little less than their best.
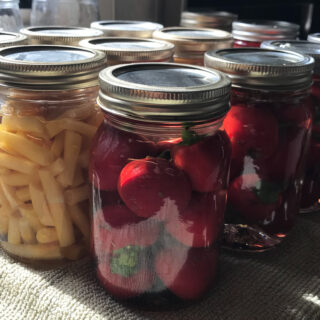
Once your broth is done and cooled, it is best to freeze it in the portions that you are most likely to use it in. I like 1/2 to 1 Cup portions and I freeze some in 1 Cup Ziploc type freezer containers and some in individual silicone muffin cups.


Using silicone lets you freeze them into a shape then easily pop them out and store, stacked in a bag in the freezer for convenience.
Chicken Bone Broth
Ingredients
- 3-4 lbs fresh or frozen chicken carcasses or bones
- 6 Quarts 2L cold water
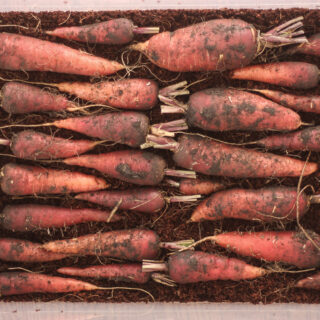
- 3 carrots
- 3 stalks of celery
- 1 or 2 onions quartered
- 1 Tbsp fresh lemon juice or apple cider vinegar
- 2 bay leaves
- 1 Tbsp whole black peppercorns
- 2 tps dried thyme. If you have fresh herbs you can use the same number of tablespoons.
- 6 sprigs of fresh parsley if you have them. 1 Tbsp of dried parsley could also be used if fresh is not available.
- 2 Tbsp apple cider vinegar
Instructions
-
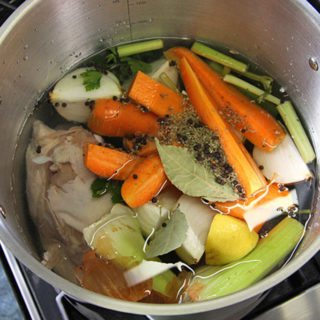
Place all ingredients into a large stock pot or dutch oven
-
Bring to a boil, then reduce the heat to a simmer over low heat and cover the pot
-
Leave it alone for 8-12 hours - up to 24. Check the water level to be sure that it continues to cover the chicken and vegetables. Top up with a bit of water if needed, however do not dilute your broth too much or the flavour will be less than ideal.
-
Pour through a strainer and discard all solids (I usually save the tasty carrots for my dog, who is also fed her primal diet)
-
Refrigerate overnight, skim fats from the top and discard fat
-
Refrigerate for 1 or 2 days or freeze in usable portions (silicone muffin cups work great for this)